The Journey for the Perfect Grade Unleashed RX-78-2
So, while out on a mini-vacation with my wife and friend in celebration of advancements in my legal career, we happened upon a store that had lots of Gunpla products. We stopped in to see what they had and there it was, sitting on a display shelf behind the registers, begging me to review it: the Perfect Grade Unleashed RX-78-2. Carrying a hefty price tag of $295 USD, it was definitely not something I was gonna be grabbing anytime soon. About a month later, I had a quick, brilliant flash of an idea: I’ll just trade some of the Pokemon TCG cards we have for it. We’d been collecting for years and have a fair chunk of high-dollar cards. So, I called the store to ask if we could make a deal and if they had the kit, and was said yes to both! I and my gunpla-builder friend loaded up and made the hour-and-a-half drive to this store. The whole drive there, I was thinking about what was in store for me. Was this going to be my toughest build? Was it going to be worth all the trouble? Will my cat eat the beam sabers again? I made sure to go into this as blind as possible because I didn’t want to spoil it for myself. This is my first time building one, let alone seeing a Perfect Grade for sale. My local stores simply do not order them.
The Box

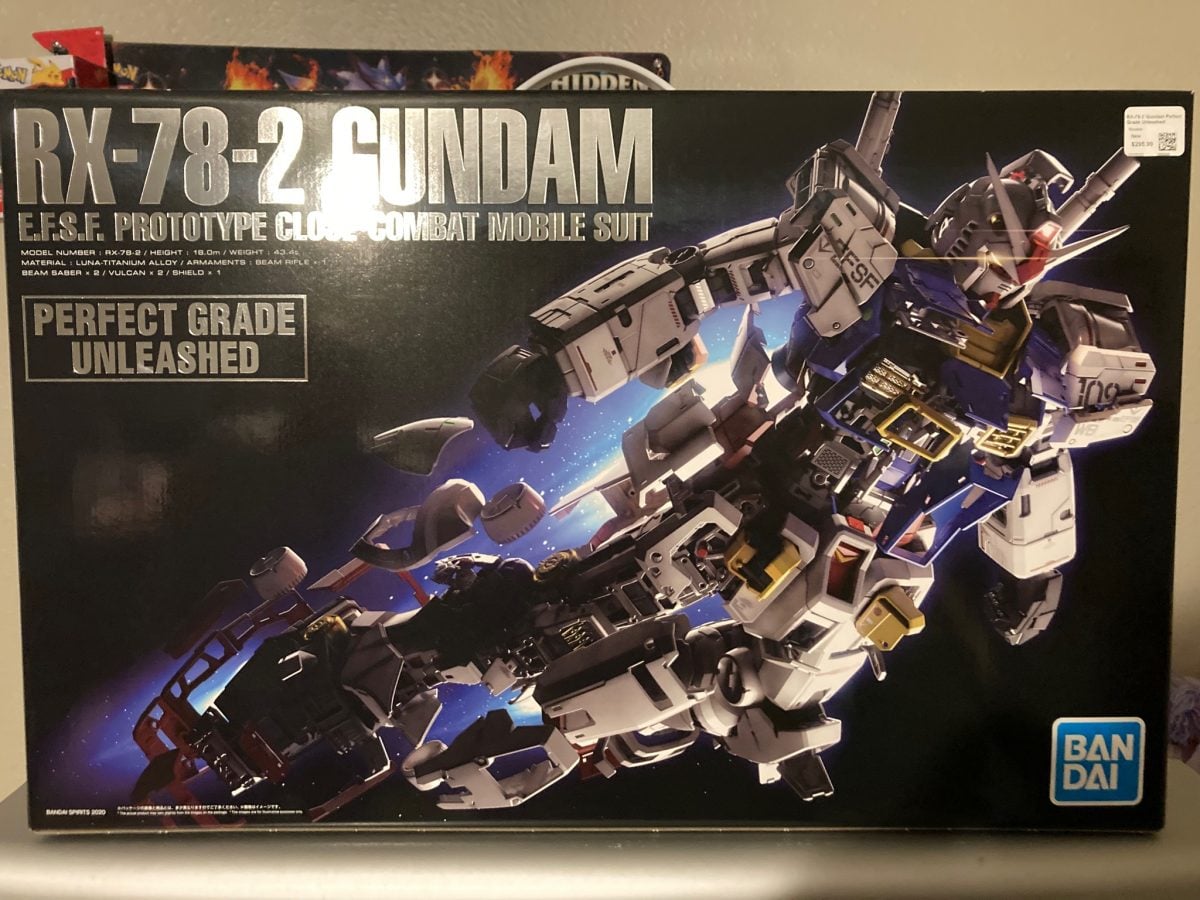
The Perfect Grade Unleashed RX-78-2 was in a large, imposing box. Two feet long, complete with a top handle. The back mentions a “Five Phase Build”. Let me be real with you: this is just a marketing spin. There are actually just three phases: The core inner frame (“Phase 1 & 2”), the “metal” on the inner frame (“Phase 3:), and the outer armor (“Phase 4 & 5”). It also mentioned “real metal parts”. This too is nothing more than a marketing spin. There are less than 10 parts that are actual metal, but several of the chrome and metallic-injection plastic parts are very convincing. Once it was finally mine, I cracked the box open on the counter to look at what awaited me. It was a sea of plastic runners. At my count, there are 20 bags containing over 30 runners. For perspective, a typical High Grade usually has less than ten runners and the Entry Grade RX-78-2 has a whopping two. Also in the box were those aforementioned metal parts, a strange-looking battery to power the beam saber LED, the torso/head LED unit, and several stickers. The stickers include standard decals, plastic-coated stickers, reflective stickers for the LEDs, and incredible metal etched stickers. I’m honestly kind of bummed about the decals not being water slide decals, as those have a much cleaner look when applied properly. For such a premium price, I figured we’d get some premium transfers.
The Contents
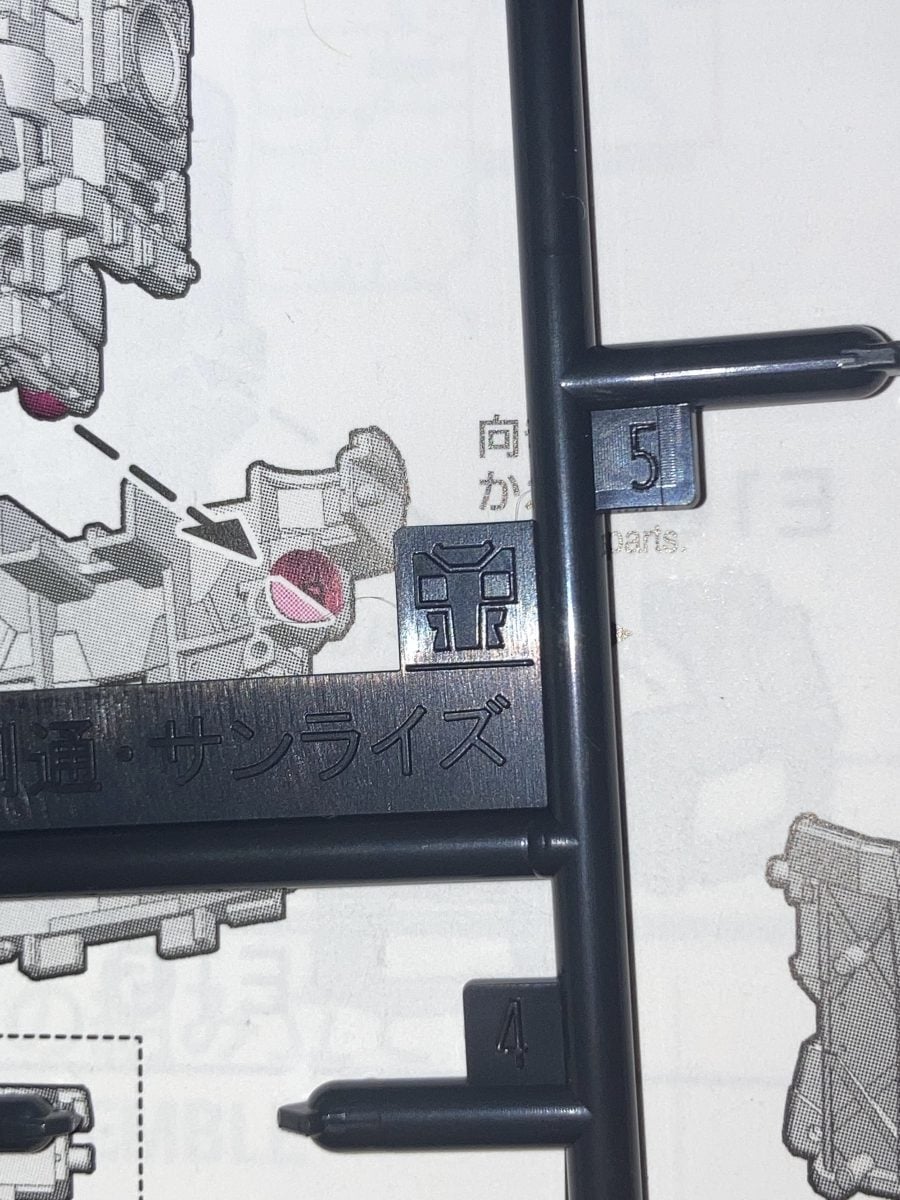
Getting back home and unwrapping all the runners was a pretty tedious task, but I noticed something while doing it: the runners are all clearly marked with what part these pieces are for between the head, chest, legs, arms, weapons, and backpack. Not only that, the pieces are very clearly grouped together in this way. This needs to be standard for Gunpla, as it makes the build so much smoother when you aren’t fumbling through all the runners to find the one odd piece you need. It was now that I decided to go ahead and get the LEDs tested. As mentioned earlier, the beam saber comes with the battery included but the LED unit for the chest and eyes does not. That requires two LR41 batteries or the equivalent 392 cell battery.

Upon testing, they worked and seem to light up fine, but I noticed an odd flicker or fade every now and again. This apparently isn’t a faulty battery or LED unit, that’s just how these things are programmed. There are several different lighting modes, but these only change the color. There are no continuous light modes. Not a dealbreaker, but the flickering really makes it seem cheap if you don’t know it’s actually doing that on purpose. The LED is also a bit of a pain to operate. I had to shave the button in mine down a bit to get it to work as intended, and even then, it’s still a bit finicky.
The Build
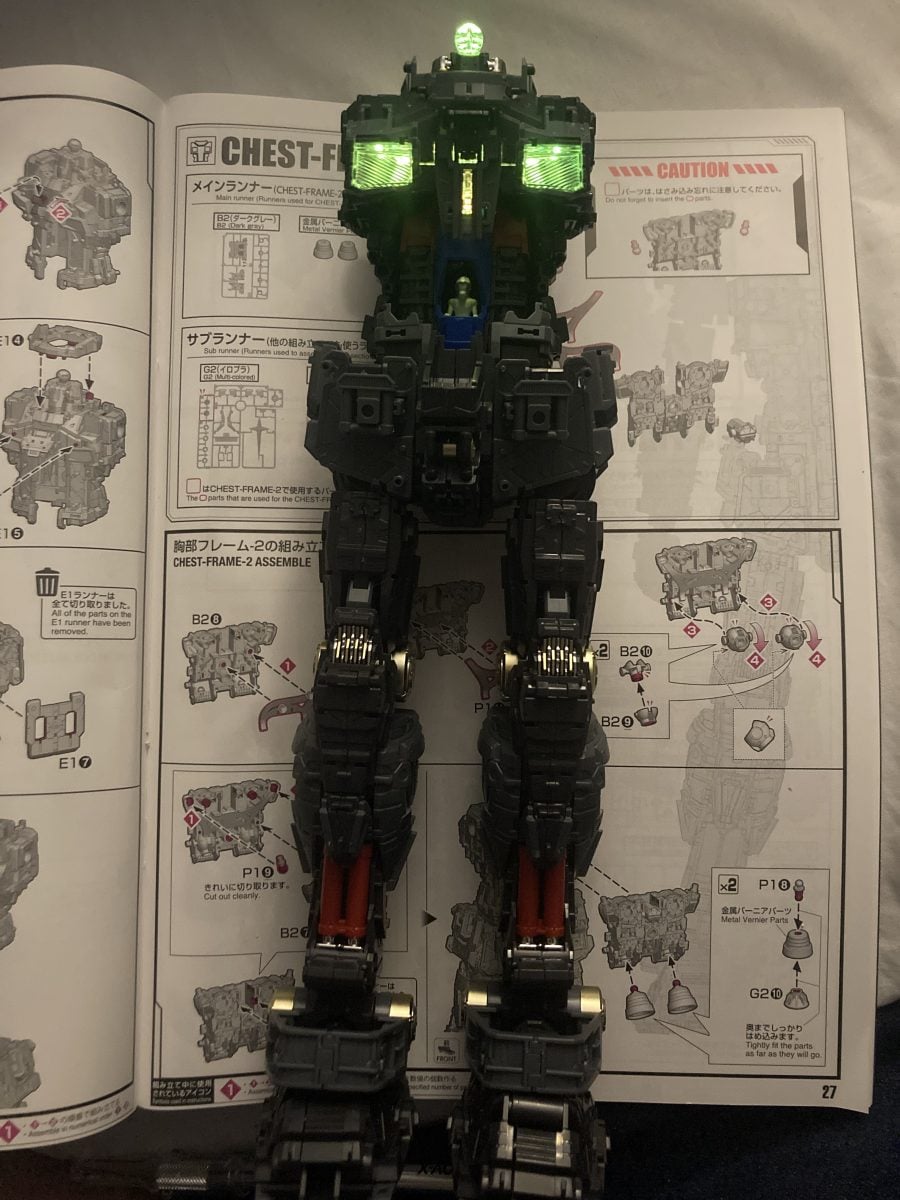
After that, I began to build the Perfect Grade Unleashed RX-78-2 in earnest. A small handful of parts for the core inner frame are molded and prebuilt, which I’m thankful for. My enjoyment of building the inner frames is split right down the middle depending on my patience and the general outer design of the unit, but I’m happy to report that this one is both fun and incredibly engaging. The details in the parts and satisfying snaps as you piece it together really elevate the process here to something that I have looked forward to building every single time I crack open that box. This is further bolstered by the deliberate pacing Bandai went for in the instructions, as it helps keep the kit from feeling overwhelming while also giving clear start and stopping points. You can do the entire inner frame in one night, or just tackle it one body part at a time. My first night was spent testing the LEDs, and finishing the frame up to the torso, which took me about three and a half hours. I was slowed down a little bit by the cheap nippers I was using as a temporary replacement to my God Hand nippers, so I had to clean up nub marks quite frequently. Below is what I had up to that point.

Thoughts So Far
The further I build the Perfect Grade Unleashed RX-78-2, the more I loved this kit and I find myself frequently impressed by the amount of detail and solid weight that this thing has. Everything feels premium. Then, the next night I got to the hands. In a rather shocking twist, Bandai decided not to include any articulated hands with this kit. There are different ones you can swap out, but they are all static poses and do not bend or pose at all. I’m not sure if it’s related to the inner chrome pieces, but it’s still a little sad to see. The inclusion of the Core Fighter as an entirely separate entity and not one, but two unpainted pilots (Amuro Ray and Sayla Mass) was a pleasant surprise. I currently think this is meant to be a beginner-friendly kit, despite the price, piece count, and size. We’ll see if I still feel that way once it’s finished! At the very least, this does increase my interest in the Master Grade Extreme line.
I also noticed the torso parts feel a little loose and spongy, with parts falling off every now and again. It was a big contrast from the incredibly stiff leg portion. I hope this becomes less of an issue as I add more to it. Currently, the LEDs seem to have a decent amount of light to them, but my workroom is fairly low in light unless I have my desk lamp on. That being said, the thrusters on the backpack which use the beam sabers LED to light up, come through pathetically weak. I could barely see it in my minimal lighting setup, so I don’t see it working well in a well-lit room.
In the next article, we’re gonna tackle the metal detailing and the outer armor. I hope you’ll join me for more of this awesome build!


