So, you’ve found your first kit, cleared your desk, and are ready to begin your gunpla journey. Time to get to building, right? Not so fast, pilot! Do you have the right gunpla tools? Let’s help you get set up.
Plastic Nippers
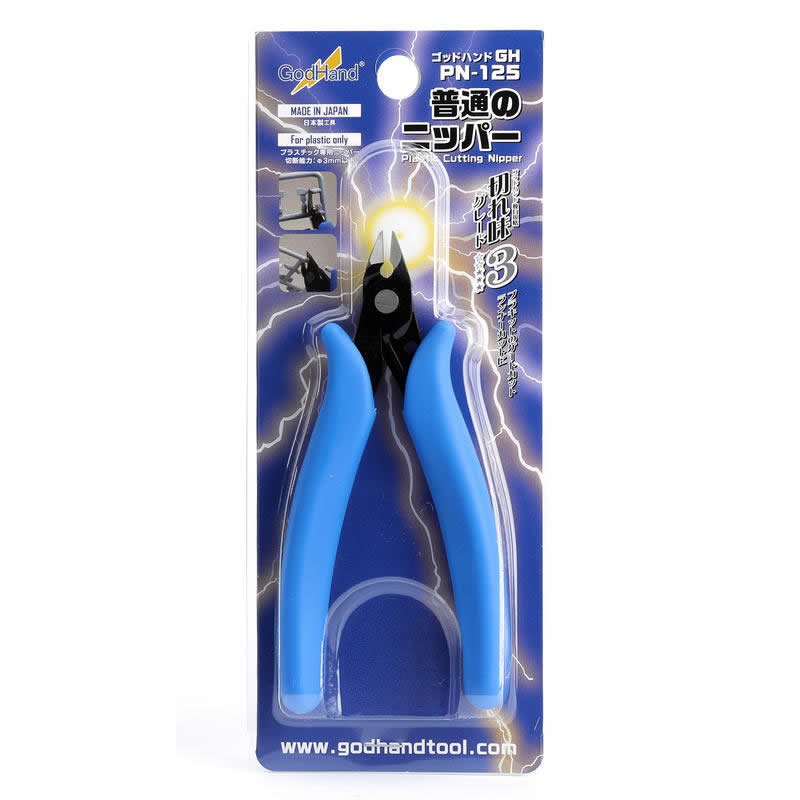
These are used to separate the parts from the runner and are an absolute necessity while also being helpful for kits that say they don’t need them. I fully recommend a pair of GodHand beginner nippers, as they are without a doubt the best nippers I’ve used. Be careful when using them, as they can be very sharp and you can easily cut or pinch some skin if you aren’t paying attention. If you want to minimize sanding or the use of a craft knife, you’ll want to cut the plastic in two spots: once a bit above where the plastic mold meets the part (called the “gate”) and once more with the flat end of the nippers flush against the part itself. This helps to reduce those unsightly stress marks in the plastic.

Craft Knife (Semi-optional)
Any brand will do, as long as it has a good, sharp blade that’s held securely in place. Always be extremely careful when using a craft knife. Not only can you damage the kit, but you can also seriously hurt yourself, and no one wants that. Always cut away from your body and never hold pieces in a way that puts any part of you in front of the blade. You want to gently cut to make the piece even. This will be tough to do if you’re just starting out so the next tool we will need is…
High-Grit Sandpaper (Semi-optional)
If you don’t mind the nub marks you can skip these, but I still recommend it as sandpaper is quite cheap, and that little extra effort really goes a long way. 600-1000 grit is preferred. Always sand in the same direction with a light but firm touch. Also, wet the sandpaper to keep harmful plastic particles from getting in the air. Done correctly, it should remove the mark, leaving very little discoloration. Should that happen, however, our next item is perfect for hiding it!
Gundam Markers (Optional)
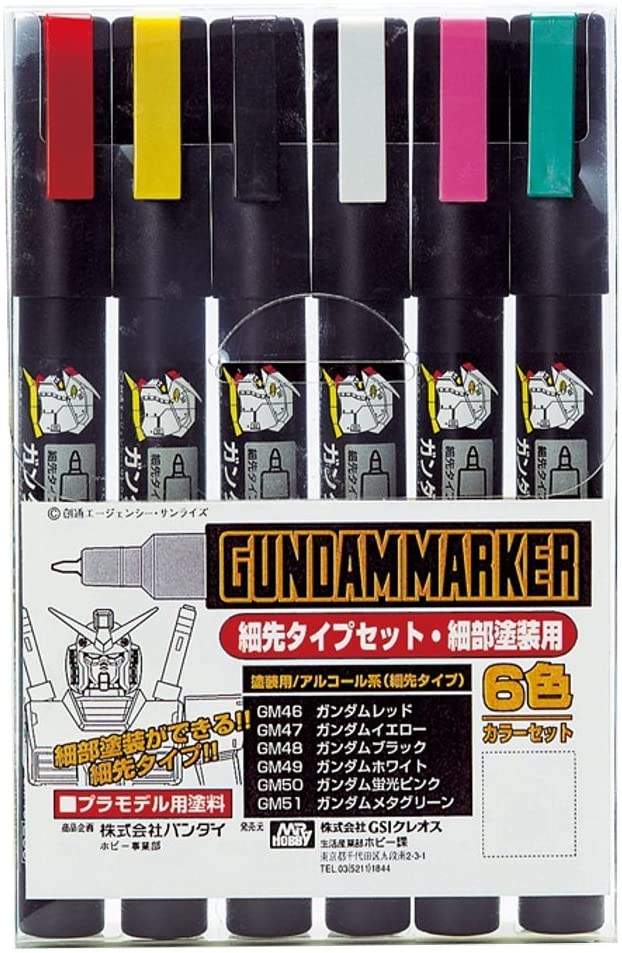
These paint markers are a great tool for blending and hiding blemishes on gunpla kits. They’re very easy to use and largely mess-free, so a basic pack is worth picking up. Bandai also offers some special packs, like metallic coats, which can take some of these weapons from mild to wild. These can be bought individually or as a pack and require no thinning or mixing. Just shake the pen, press it down and the paint will flow. Always paint on a testing sheet first to make sure it will look right.

Panel Liner and an Eraser
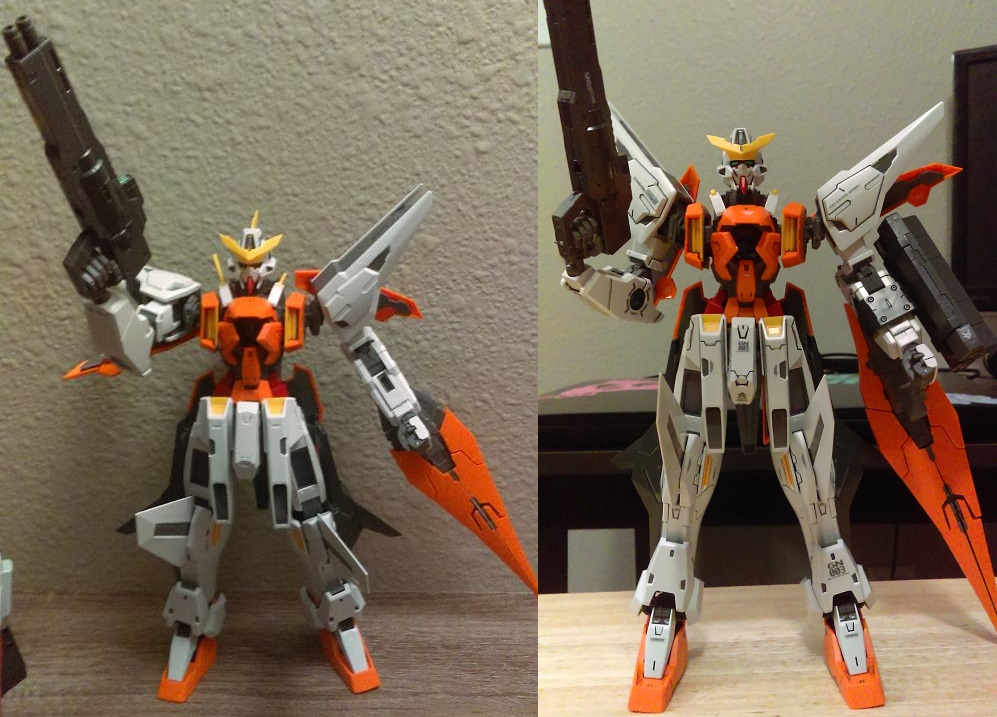
Finally, we’re going to look at the technique that can elevate any kit in visual appeal, and that’s panel lining. There are several different methods for panel lining, but I personally do it with the Bandai fine point panel lining pen. Generally, what you want to do is follow the seams and indents on gunpla kits where you expect there to be outlines and separation as well as some light grime or oil on vents and exhaust. This will help simulate that and give the kit loads more depth. A single black pen should be all you need, but if you prefer a less harsh line, the grey pens are for you. That being said, a black pen will show up much better on darker colors, like blue. Here’s a before and after shot of a friend’s kit.

Look at the added depth and detail.
The increase in visual clarity should be immediately apparent. There’s also the option of liquid panel liner for smaller, and more intricate details that a pen either won’t fit or when you don’t want to spend a lot of time filling in by hand. If you make a mistake or get too much on the kit, you can use a standard rubber eraser to erase it before it dries. Panel lining is like magic and it’s my favorite part of any build. At least one pen should be a part of any set of gunpla tools.
Self-Healing Cutting Mat (Semi-Optional)
If you plan to cut out lots of decals or want to avoid damage to your workspace, this is an absolute must. Cutting mats help keep your blades sharp and your hands more stable when cutting. It will also make cleanup a breeze, as you can just pick up the mat and whatever parts are on it for easy transport to the trash bin.
Plastic Parts Separator
I was debating having this be optional, but there have been so many times I absentmindedly stuck a piece backward that I figure it’s worth including as a crucial gunpla tool. You can find these just about anywhere but it’s important to not use anything metal or bladed, as you could damage the kit or yourself. Some kits, like Bandai’s Hyper Function LBX line, come with one in the box.
Quick Building Tips I Wish I Knew When I Started:
- Familiarize yourself with the symbols in the manuals. You don’t need to know how to read Japanese and most modern gunpla kits are dual-language, but you’ll be seeing these a lot and they highlight crucial information.
- Look up reviews on kits to see if there are any major issues. Earlier kits are more prone to problems.
- If you get tired or frustrated, take a break and come back to it later.
- Don’t let a single bad kit or a messy build ruin the hobby for you. Some builds are just not fun or have serious drawbacks. I don’t like the Evangelion HG kits that coincided with the release of the earlier Rebuild movies. Those models don’t stand on their own very well, and some pieces are prone to falling off. Even though these pushed me away from bigger kits for a while, I later found some of my favorite builds in the HG line.
- Get something to organize your runners (the sheets of plastic pieces) and gunpla tools while building. You can buy one specifically for model runners or use something like a desktop file organizer. It will save you a lot of time.
- When cutting smaller pieces, take extra care not to break them or cut them in a way that sends the piece flying out of your hand. I’ve lost a few pieces this way.
- If you have pets, keep your models out of reach when displayed. I have a cat that loves to chew on beam sabers.
- When moving with or storing completed kits, put each model in its own plastic sandwich bag. This will keep any parts that come loose together with the model so they don’t get lost. I also recommend keeping the instructions for more intricate kits, just in case you don’t remember what pieces go where.
- Keep your gunpla tools organized and replace them when needed. Blades and nippers will eventually dull.
- Finally, just have fun with it and build how you want to, at whatever pace you feel is best.
In the next and final article for our gunpla beginner’s guide, we’re going to examine what you can do next after you get some of these kits under your belt, and how to pose them to look as cool as possible.


