So after watching/helping my wife play tons of Elden Ring and adjusting to recent advancements in my legal career, I decided to unwind by continuing the build on the PG Unleashed RX-78-2.
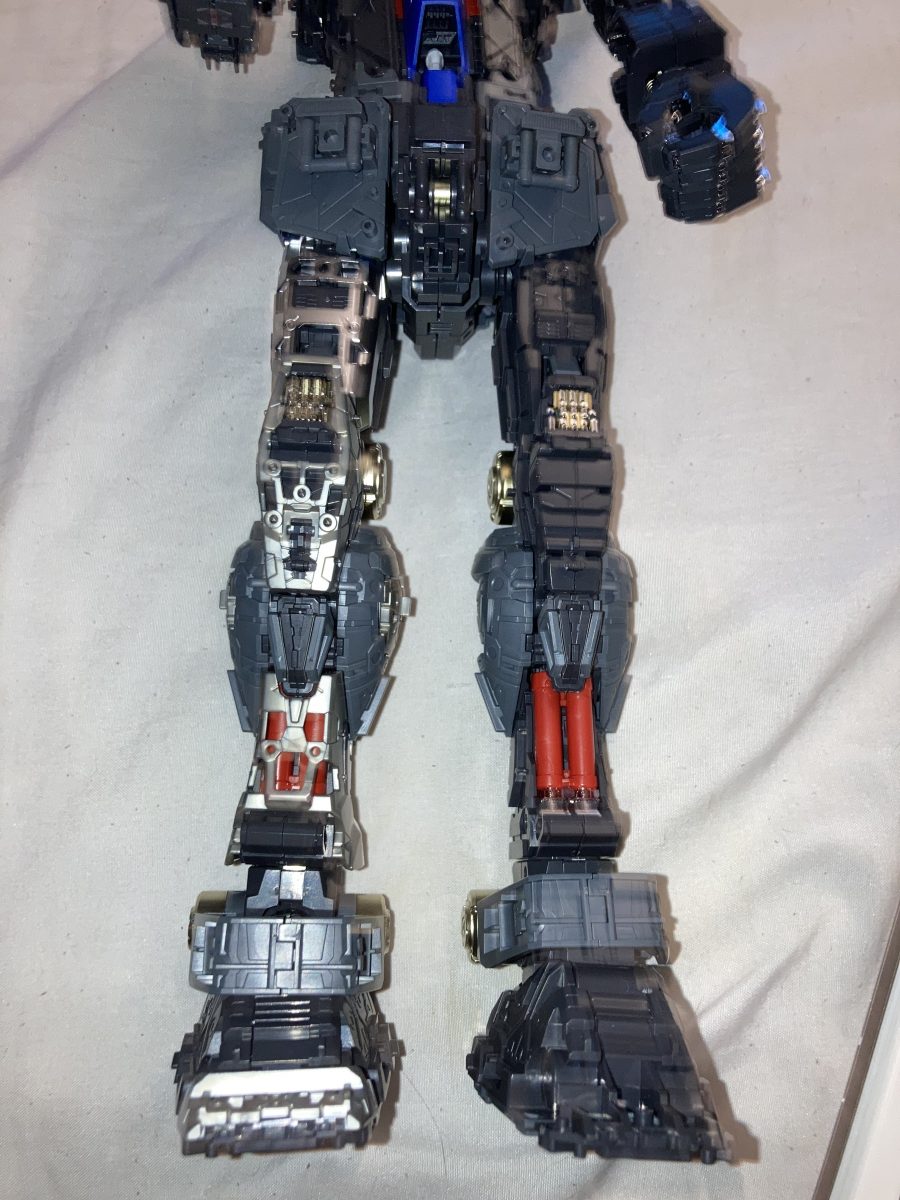
After finishing the main inner frame (Phases 1 and 2 of the “Five Phase Build”), and adding all of the real metal parts, it was time to begin adding the “metal” trusses to the frame. Despite being molded and plated in several different colors and intensities, I’m happy to report that these pieces really catch the eye when applied. It genuinely looks a bit more metal than I expected, largely due to the contrast against the stark black and dark grays of the inner frame. Take a look at this photo comparing the legs with and without the trusses.
Loose Parts and Unexpected Issues
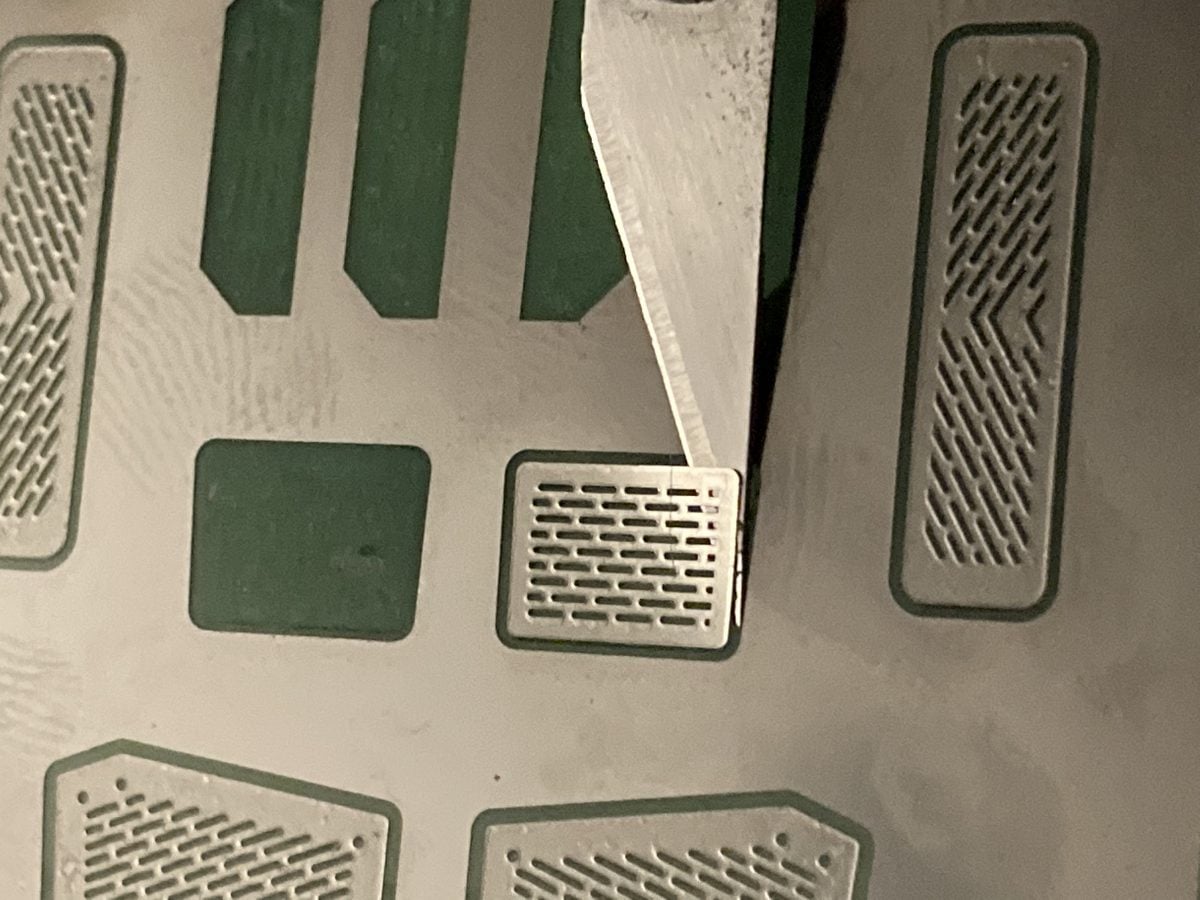
When we posted my last piece on this kit to Facebook, I had someone ask how I felt about the etched stickers. My original opinion was fairly neutral, but now I’ve grown to dislike them a bit. They’re exceedingly difficult to remove from the sheet and just don’t feel like they have enough adhesive. I ended up using my craft knife to peel them off, as they are very easy to bend during removal. They look awesome but are definitely a pain. They also started to get some green residue stuck to them from the sheet itself, which was difficult to remove. They are mostly hidden, and have to be placed with some precision.
The truss pieces are pretty well made, all things considered, and the under-grating on the more visible parts keeps the nasty nub marks unnoticeable. This portion of the kit quickly became an exercise in frustration, as the center torso began losing pieces as I tried to attach these new ones. It felt like some of the pieces I attached during my last sessions were becoming a little loose. I’m hoping that once I get the outer armor on that the loose parts in the PG Unleashed RX-78-2 get a better hold.
Particular problem areas are the thrusters on the backpack and the pieces directly under the chest exhaust vents. It’s also worth noting that if you add the stickers the instructions tell you to, you’ll end up covering some of the lit sections in the head, or all of them. Usually, the booklets mention them being optional, but this kit doesn’t. A few steps later, I had to get yet another set of those metal etched stickers… and this was right around the time I got a painful reminder to always check how secure the blade of your craft knife is. Between the many times I used it to peel some of these things off, it got loose enough to dislodge. I moved my leg to begin looking for it, and very quickly found it embedded in my ankle. After cleaning up that unintended mess, I took that as a hint to take a break for the night. I had been at it for a few hours and was making some sloppy mistakes. The good news is that I reached the final stretch of the main build, Phase 4: the outer armor.
All in all, the trusses weren’t too time-consuming or difficult. It’s probably the quickest, simplest part of the entire build, with the highest payoff. I wouldn’t mind doing a split kit with half being all armor and half being no armor, because these details and mechanics are second to none. There are some optional clear parts for the PG Unleashed RX-78-2 you can buy to achieve a look like that, and after seeing all the beautiful molding on detail that’s just going to be hidden by the outer armor, I’m absolutely considering the purchase.
You Get a Hatch, Everything Gets a Hatch
The next day, I came back to finally conquer the rest of the main mobile suit. The outer armor didn’t look too threatening on paper, but it turned out to be a huge time sink.
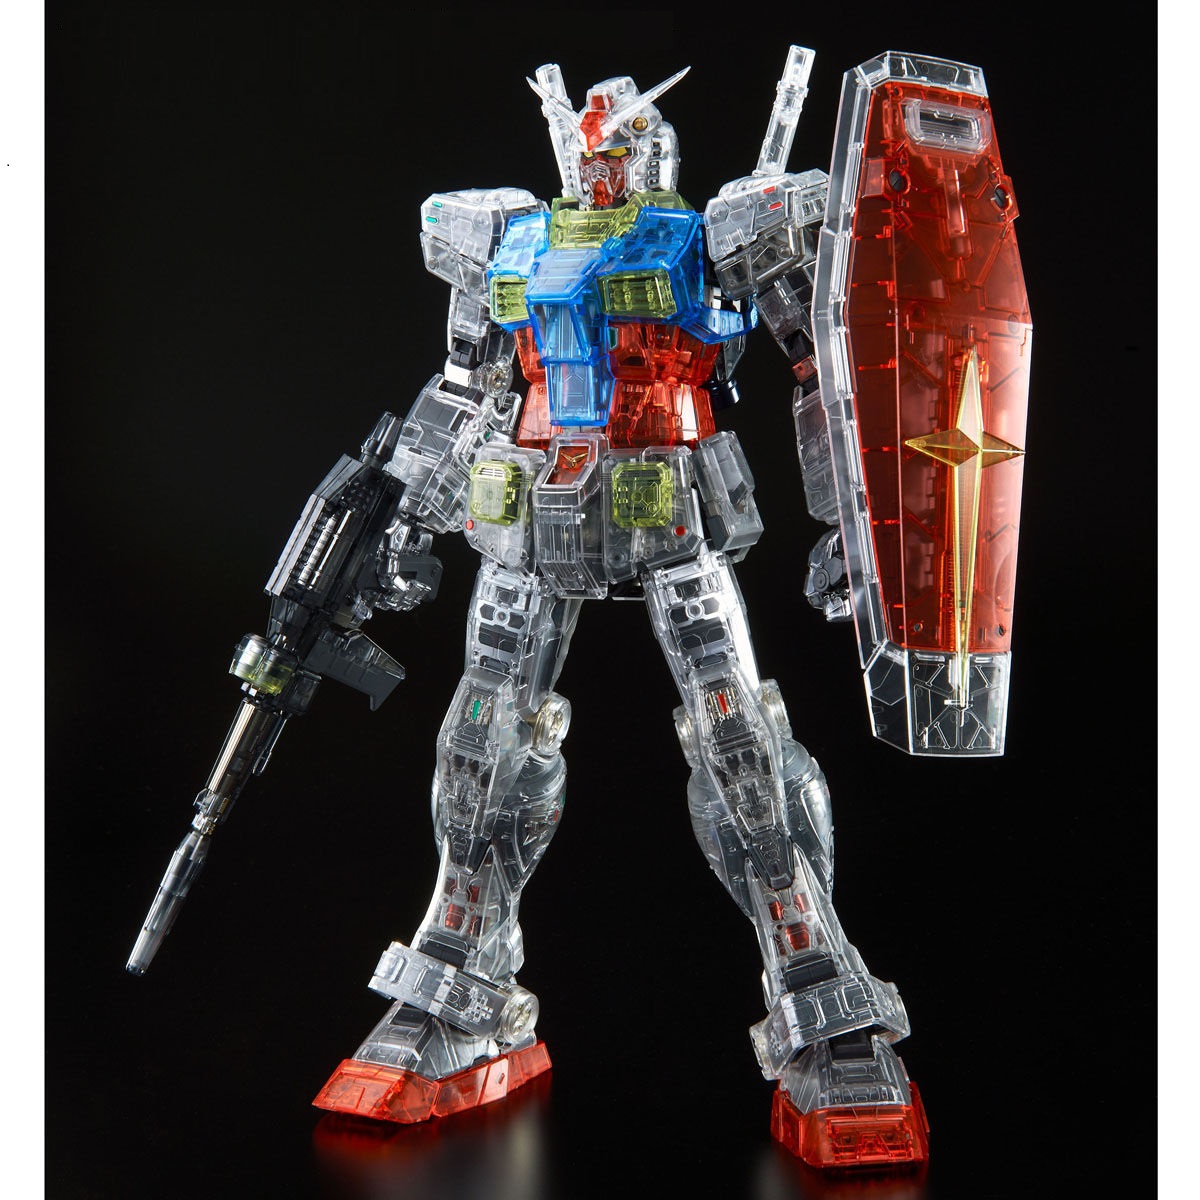
Bandai made sure to give a sense of dimension to nearly every piece of this outer armor, which makes panel lining *less* of a necessity. The way the parts are segmented does most of the heavy lifting. There are still some parts that need a bit of lining, but I’ll get into the full process and tips in the next piece. The outer armor parts are plentiful and as I kept building, I noticed that the colors for some of the pieces are ever-so-slightly different shades. This leans further into the kit looking quite good even without panel lining since the different hues and colors help create more contrast and depth. That’s to say nothing of the number of pieces at play here. There are very few, if any, parts that are less than 2-3 segmented pieces that join together, and the reason for that is the almost comically absurd amount of hatches and openings this kit has as Phase 5 of the PG Unleashed RX-78-2. I have no desire to find and open every single one of them for a photo, so I’ll just use one provided by Bandai.
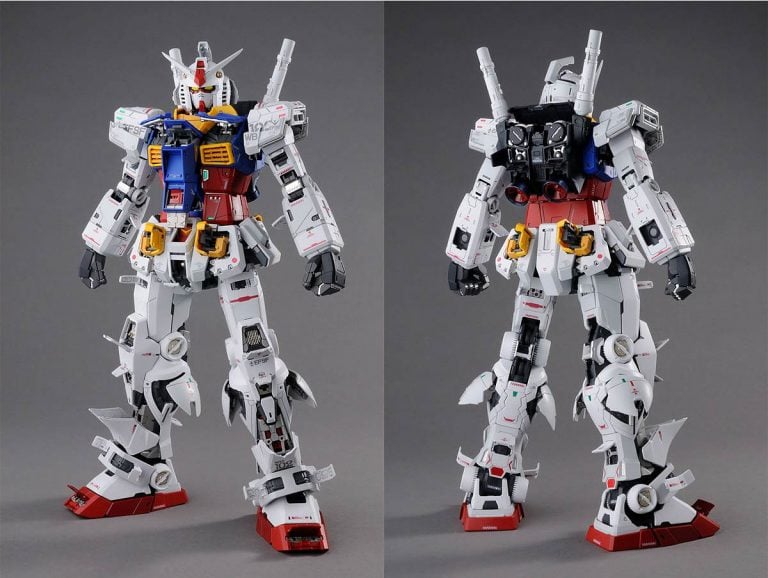
Seriously, look at that. It’s almost visual overload at this point. Toes? Hatches. Skirt armor? Hatches. Head camera? Hatches. If you think it can open, it probably does. Admittedly, this lets you show off a lot of those hidden, finer details of the inner frame, but man, it’s a lot to take in. This level of articulation is unreal and I fully believe the kit earns that “Extreme” moniker.
Not only that, this is a gunpla photographer’s dream with how well it poses and keeps locked in. You can recreate every iconic pose from the series with relative ease. Some pieces may fall off here and there, but it does a remarkable job holding together. The same can’t be said for some of my RG kits, as the slightest touch will cause some of the tiny pieces to leap from where they’ve been sitting. I still stand firmly by my belief that the PG Unleashed RX-78-2 can be an excellent beginner’s kit if it’s given proper pacing and time.
In the next and final part of this review, I’ll cover the accessories (Beam Rifle, Shield, Beam Saber), Core Fighter (essentially a whole other mini kit), panel lining, and the arduous task of adding the decals. As always, if you want to get into gunpla yourself, make sure to check out my beginner’s guide!


